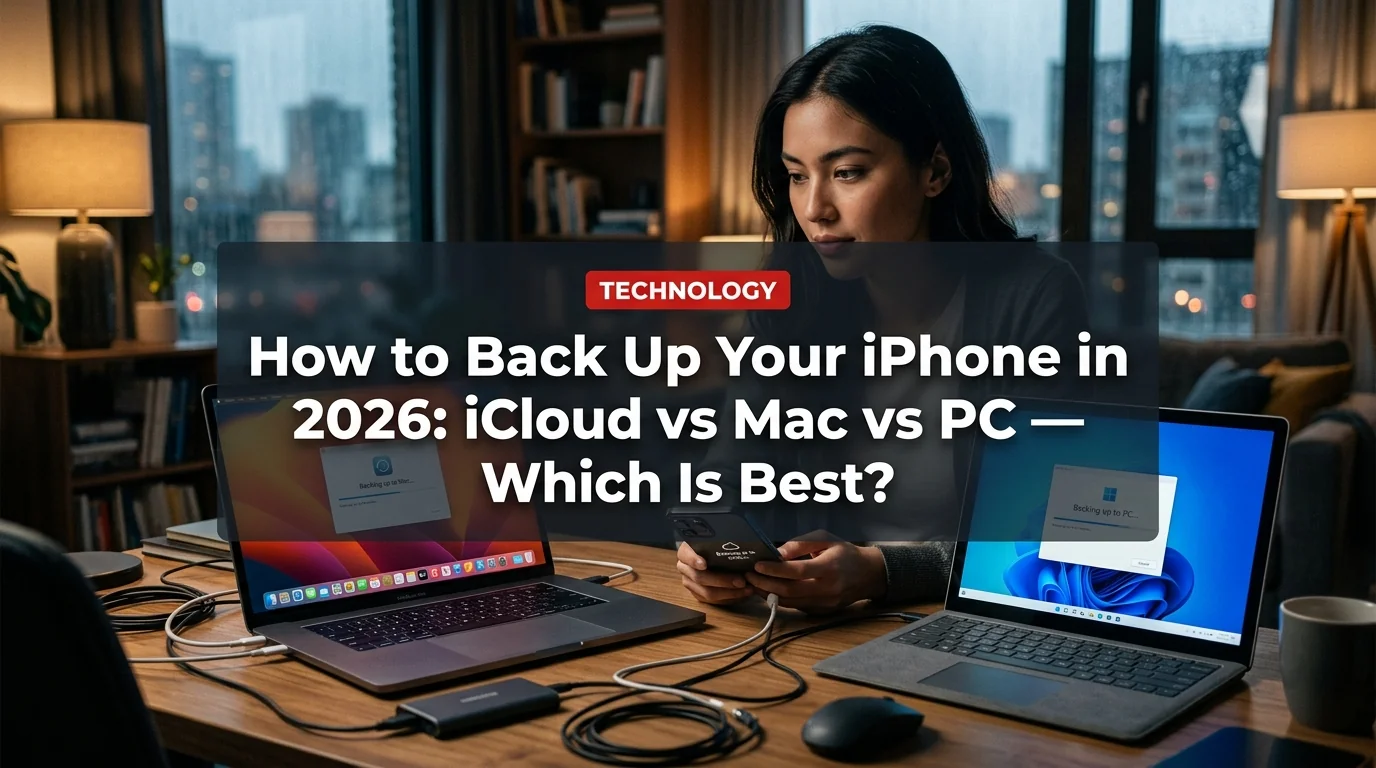
Your iPhone holds everything — photos, messages, passwords, health data. Losing it without a backup means losing all of it. Apple gives you three ways to back up in 2026: iCloud (wireless, automatic), Mac (local, free), and Windows PC via iTunes. Here's how each works, what they cost, and which one you should use.
The Quick Answer
- Best overall: iCloud (automatic, effortless, but $2.99/month for most people)
- Best free option: Back up to a Mac or PC (no cost, but you have to plug in)
- Best for maximum safety: Do both — iCloud for daily convenience, local backup before major iOS updates
Method 1: Back Up iPhone to iCloud
iCloud backup runs automatically in the background when your iPhone is plugged in, on Wi-Fi, and locked. Most people use this without ever thinking about it — but only if they have enough iCloud storage.
How to enable iCloud Backup:
- Open Settings on your iPhone
- Tap your name (Apple ID) at the top
- Tap iCloud
- Tap iCloud Backup
- Toggle Back Up This iPhone to ON
- Tap Back Up Now to create an immediate backup
How to check your iCloud backup:
Settings → your name → iCloud → iCloud Backup → check "Last Backup" date and time.
iCloud storage check:
Settings → your name → iCloud → Manage Account Storage. If you see less than 1GB free, your backups may be failing silently.
What iCloud backs up:
- Photos and videos (if iCloud Photos is off; if on, photos are stored separately)
- App data, settings, and app layout
- iMessages, SMS, and MMS
- Health data, Apple Watch data
- Device settings (Wi-Fi passwords, wallpaper, accessibility settings)
- Purchase history
What iCloud does NOT back up:
- Apple Music, iTunes, and App Store content (re-downloadable separately)
- Content already stored in iCloud (iCloud Drive files, iCloud Photos)
- Face ID and Touch ID settings (security feature — never backed up)
Method 2: Back Up iPhone to a Mac
Local Mac backups are free, fast (over USB), and keep your data completely private. No cloud storage fees — just a cable and a few minutes.
Steps (macOS Ventura / Sonoma / Sequoia):
- Connect your iPhone to your Mac with a USB or USB-C cable
- Open Finder (not iTunes — that's Windows only now)
- Your iPhone appears in the Finder sidebar under Locations — click it
- Click Trust on your iPhone if prompted, and enter your passcode
- Under the General tab, select Back up all of the data on your iPhone to this Mac
- Optionally check Encrypt local backup (required to back up passwords and health data)
- Click Back Up Now
The backup saves to your Mac's drive. You can see past backups in Finder → your iPhone → Manage Backups.
Encrypted backups:
For a complete backup that includes passwords, Health data, Wi-Fi passwords, and website history, check Encrypt local backup and create a password. Store this password somewhere safe — without it, you cannot restore.
Method 3: Back Up iPhone to a Windows PC
iTunes still handles iPhone backups on Windows in 2026.
Steps:
- Download and install iTunes from the Microsoft Store or apple.com/itunes
- Connect your iPhone via USB cable
- Trust the computer on your iPhone if prompted (enter your passcode)
- Click the iPhone icon in the top-left of iTunes
- Under Backups, select This computer
- Optionally check Encrypt local backup for full backup including passwords
- Click Back Up Now
Where Windows backups are stored:
C:\Users\[YourName]\Apple\MobileSync\Backup\
- Mac and PC backups are stored locally — they're only as safe as your computer
- Encrypted backups include passwords and health data; unencrypted backups don't
- Both Mac and PC backups can be used to fully restore a new iPhone
- iCloud restores over Wi-Fi; local backups restore faster over USB
- You can have both iCloud and local backups active at the same time
iCloud vs Mac vs PC: Full Comparison
- Fully automatic — backs up while you sleep
- Access backup from anywhere (restore to new iPhone without a computer)
- No cable required
- Multiple iPhone backups stored (last few versions)
- Completely free — no subscription
- Faster backup and restore (USB is much faster than Wi-Fi)
- Data stays on your device — total privacy
- Encrypted backup includes passwords and health data
- Costs money beyond 5GB ($0.99–$9.99/month)
- Requires Wi-Fi and charging to back up
- Apple can technically access unencrypted iCloud data
- Large backups can take hours on slow Wi-Fi
- Manual — you have to remember to plug in and back up
- If your computer dies, the backup is gone too
- Requires a compatible cable and the computer to be nearby
How to Restore iPhone from a Backup
Restore from iCloud:
- Factory reset your iPhone (or set up a new one)
- On the "Apps & Data" screen, select Restore from iCloud Backup
- Sign in with your Apple ID
- Select the most recent backup and wait for it to complete
Restore from Mac:
- Connect your iPhone to the Mac via USB
- Open Finder and click your iPhone
- Click Restore Backup
- Select the backup and enter the encryption password if applicable
Restore from Windows PC:
- Connect iPhone via USB and open iTunes
- Click the iPhone icon → Restore Backup
- Select the backup and enter the encryption password if set
How Much iCloud Storage Do You Need?
Here's how to figure out your backup size before you upgrade:
Settings → your name → iCloud → iCloud Backup → your backup size estimate is listed there. Most iPhone 15/16 users need 10–50GB for a full backup depending on how many photos they store locally.
Storage guide:
- Light phone user (few photos, minimal apps): 50GB plan ($0.99/month) is plenty
- Average user (lots of photos, messaging): 200GB plan ($2.99/month) is the sweet spot
- Heavy user or sharing with family (iCloud Family Sharing): 2TB plan ($9.99/month)
How Often Should You Back Up?
- iCloud: Leave it on automatic — it backs up daily when conditions are met
- Local Mac/PC: At minimum, before any iOS update, before replacing your phone, or monthly if you don't use iCloud
- Both: Before any major change to your iPhone (switching phones, restoring, big app installs)
Frequently Asked Questions
Q: How long does an iPhone backup take? First-time iCloud backups can take 30 minutes to several hours depending on your data size and Wi-Fi speed. Incremental daily backups (after the first) typically take 2–10 minutes. Local Mac/PC backups usually complete in 5–20 minutes over USB.
Q: What happens if I run out of iCloud storage? Backups stop silently — you won't be notified unless you check. You'll see a warning in Settings. Either free up space (delete old device backups in iCloud settings), upgrade your plan, or switch to a local backup.
Q: Can I back up to an external drive instead of iCloud? Not natively through Apple's built-in tools. You can back up to a Mac or PC first, then manually copy the backup folder to an external drive for offsite storage.
Q: Does iPhone backup include text messages? Yes — both iCloud and local backups include iMessages and SMS. However, if you use iCloud Messages (Settings → Apple ID → iCloud → Messages → Sync), your messages are already in iCloud and don't need to be part of the device backup.
Q: How do I know my iCloud backup is actually working? Settings → your name → iCloud → iCloud Backup. Look at "Last Backup" — it should show a time within the past 24 hours if your iPhone has been plugged in and on Wi-Fi recently.